LED Display Insights
LED Wall Flickering on Camera? Start With These Questions
An enquiry from a film studio highlights what to collect before troubleshooting LED wall flickering, from camera settings to system details and test footage.
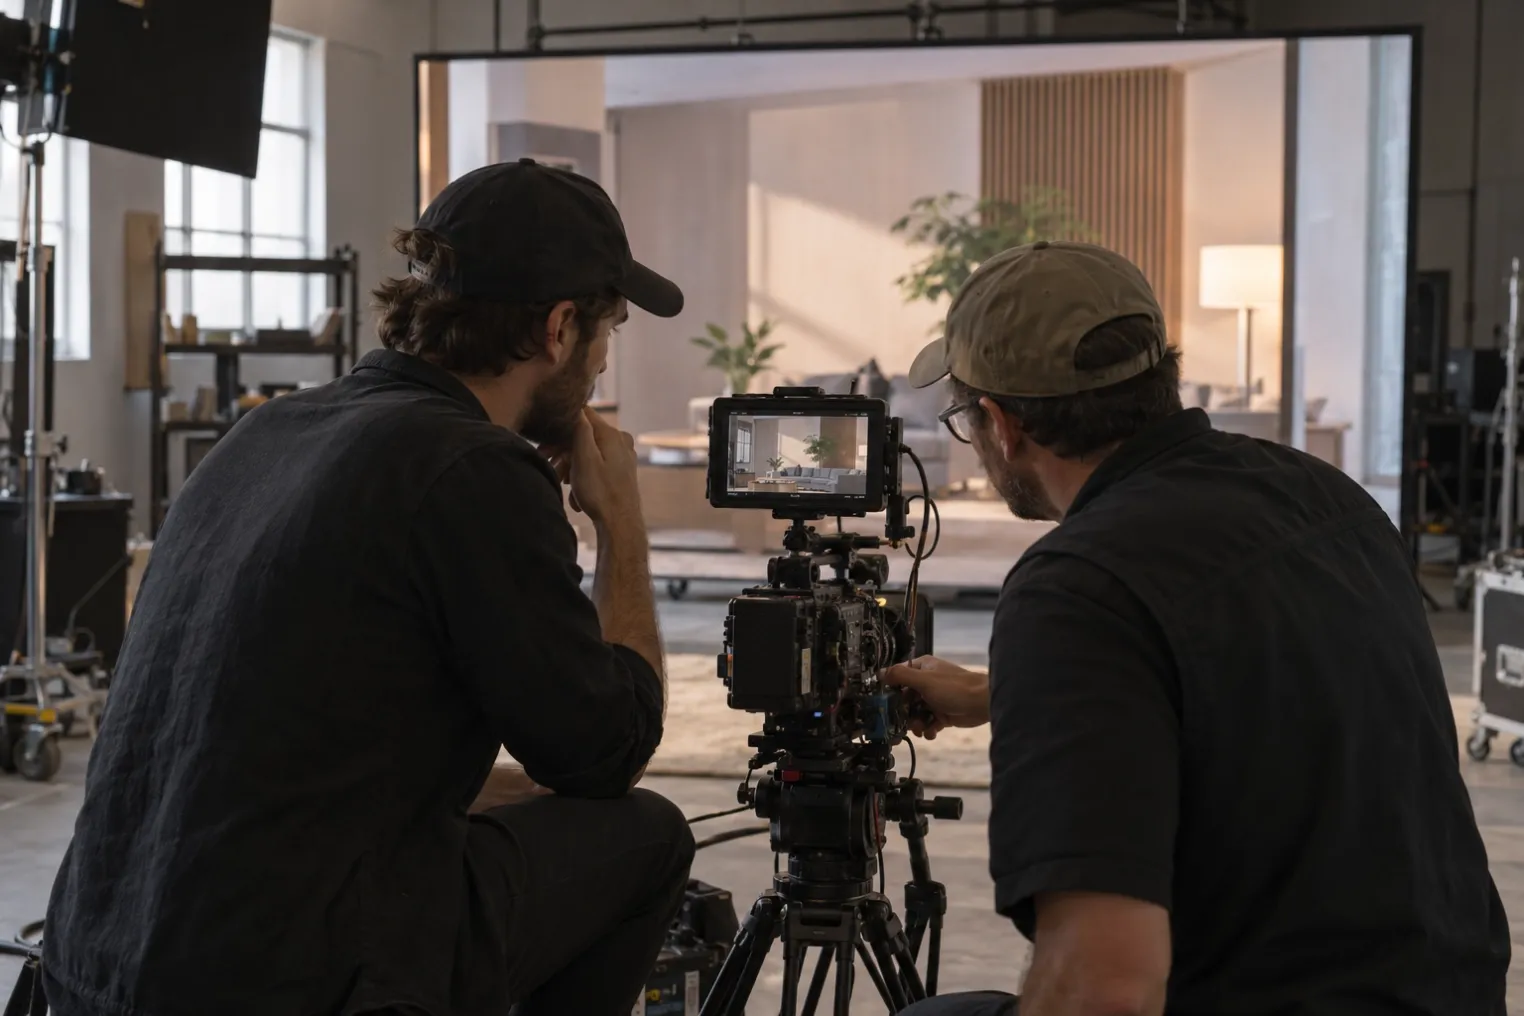
A film studio recently contacted us about an existing P1.5 LED wall.
The team was actively using it for production, but several professional cameras were recording flickering. They had tried various technical adjustments without resolving the issue.
They were looking for someone with hands-on experience in LED walls for film and television production.
We have not diagnosed this installation. But the enquiry raises a useful question:
When an LED wall causes problems on camera, what information should you collect before deciding what needs to change?
First, find out what “flickering” means
The word describes a problem, but it does not show a technician exactly what is happening.
Does the footage contain moving dark bands? Does the whole image change in brightness? Is the problem limited to particular areas of the wall?
Also establish whether the issue is visible to people in the room, or only in the recorded image.
A short original camera clip, accompanied by the recording settings, is a much better starting point than a general description.
If possible, provide the original footage rather than a phone recording of a monitor.
P1.5 is useful information—but it is not a diagnosis
Pixel pitch describes the spacing between pixels. It does not describe the complete interaction between the display and a camera.
For certain on-camera artefacts, the timing of the LED output and the camera’s exposure and sensor readout are relevant. Megapixel’s technical guidance explains how misalignment can produce scan-line artefacts, with behaviour differing between rolling-shutter and global-shutter cameras.
That does not establish the cause of this studio’s problem. It explains why asking only for the pixel pitch leaves too many questions unanswered.
Record the camera settings alongside the footage
For each affected camera, collect:
- Camera model and recording mode
- Exact frame rate, including fractional rates where applicable
- Shutter angle or shutter speed
- Whether external synchronisation is supported and being used
- A sample clip showing the problem
If several cameras are involved, keep a separate record for each.
“Works with one camera” is helpful evidence. It is not a substitute for testing the other cameras and shooting modes the production requires.
Identify the LED system and signal path
The technician also needs to know what is driving the wall.
Record the LED panel model, processor or controller, receiving-card details where available, and relevant firmware or software versions.
Add a simple description of the signal path: playback source, intermediate equipment, LED processor and display.
Where synchronisation is used, document the reference source and connections. A connected cable alone does not confirm that every device is configured correctly or locked to the intended reference.
Camera-oriented adjustment tools are also system-specific. For example, Brompton documents how its supported ShutterSync configurations work with Genlock and camera exposure settings. That is not a feature we can assume is available on an unidentified installation.
Make the next test repeatable
The studio had already tried several adjustments. For the next technician, knowing what changed—and what happened afterwards—would be valuable.
Before further changes, preserve the existing configuration.
Then keep a simple test log:
Setting changed → recording conditions → observed result.
Use consistent test content and record the display brightness. Change one variable at a time where practical, and retain comparison clips.
This gives the technician something to evaluate beyond “we tried that already.”
Ask for experience with the actual production workflow
General LED installation experience is valuable. This enquiry specifically calls for someone comfortable working with both the LED processing system and the camera team.
Before arranging a visit, share the equipment list, footage and previous test notes. Ask whether the technician has experience with the installed system and the production’s required camera modes.
Agree on a practical objective for the visit: reproduce the issue, investigate the cause, and document the results of controlled tests.
The available solution may involve configuration, workflow changes or hardware limitations. That conclusion should follow the investigation.
For buyers, bring the camera test forward
If an LED wall is being purchased for filming, include an on-camera test in the evaluation.
Specify the cameras, frame rates, shutter settings and brightness levels you expect to use. Review recorded footage under those conditions before accepting the configuration.
A refresh-rate figure is useful, but it should not replace that test.
At WINTECH LED SOLUTION, this enquiry is a reminder to discuss the intended shooting workflow early.
If you are planning an LED wall for a studio, share your camera models and recording requirements alongside the screen dimensions. These details help define what needs to be evaluated before a configuration is confirmed.
For those working in studio production: what information do you wish clients would prepare before an LED wall troubleshooting visit?